Installation on Windows
To install GeoServer Enterprise in MS Windows, follow these steps.
Java Runtime Environment
GeoServer Enterprise requires a Java 8 runtime Environment.
OpenJDK is now the lead project for the Java ecosystem. As an open-source company GeoCat is pleased to see OpenJDK supported by a number of different distributions.
To install the OpenJDK JRE, follow these steps:
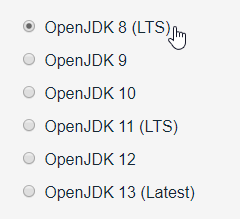
Navigate to the AdoptOpenJDK download page
Select OpenJDK 8 (LTS) as the version to download.
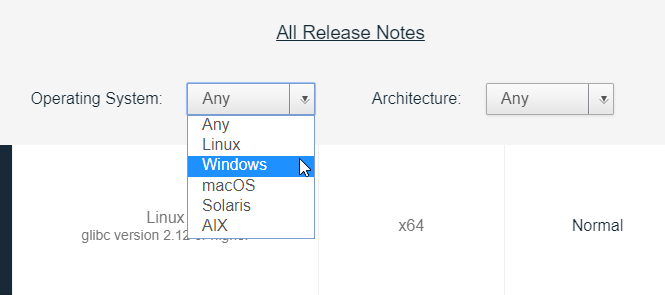
Select Windows as your Operating System.
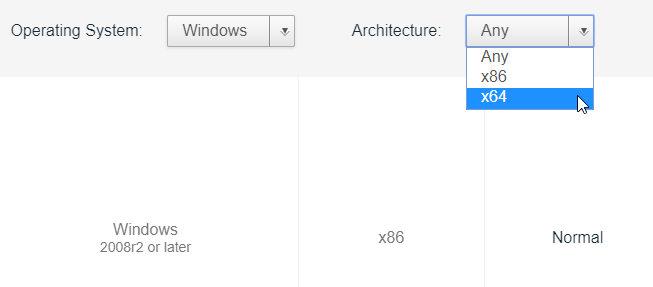
Select the corresponding architecture for your system in the Architecture field.
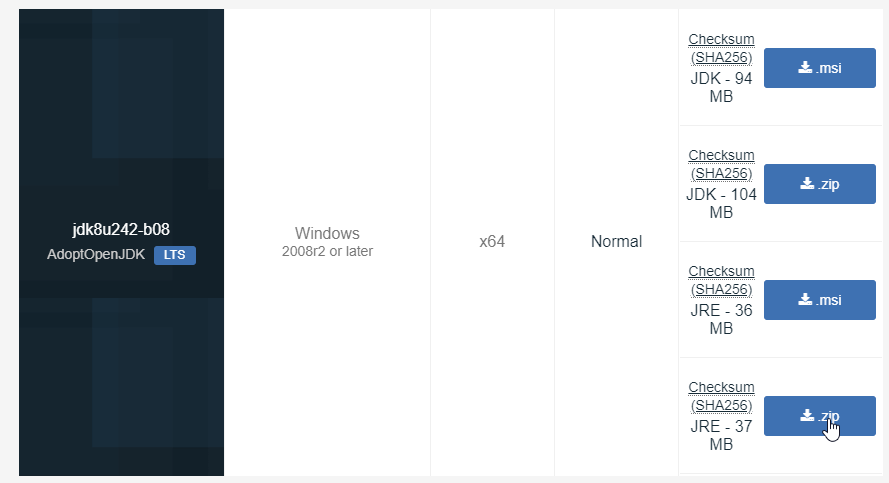
Click on the available JRE zip file download link for the above selected options, to download the OpenJDK prebuilt binary.
In your system, create a folder called
javaunder yourProgram filesfolder.Extract the content of the downloaded zip file into that folder. Your folder structure under the
Program Filesfolder should now look like this: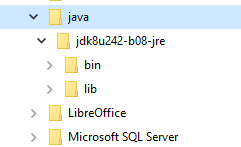
Open the Windows System configuration by going to and then click on the Advanced system settings link. Move to the Advanced tab.
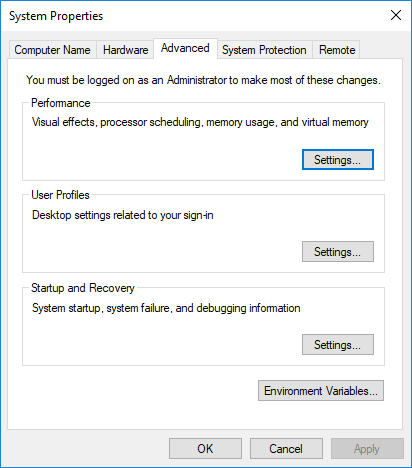
Click on the Environment variables button.
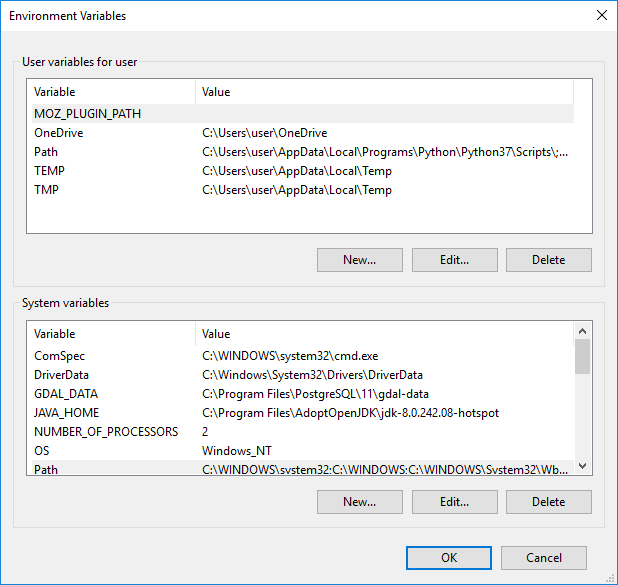
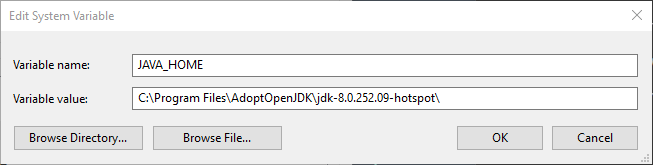
In the System variables section, click on New to create a new variable. Enter the following values to configure the new variable:
Edit the Path variable by selecting it and clicking on Edit.
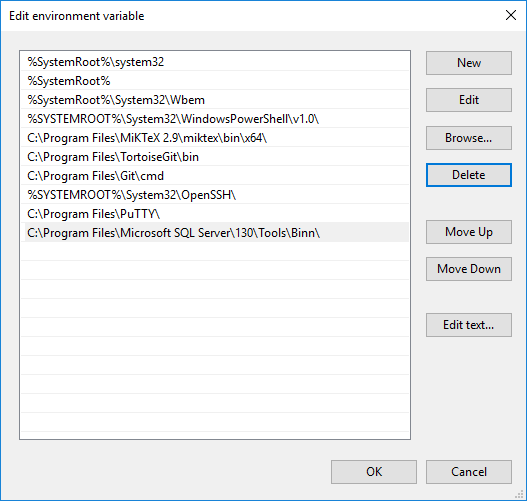
Click on New to add a new line to the variable and enter %JAVA_HOME%bin to add the Java JRE folder to your system PATH.

Close the Environment variables and Windows System configuration dialog.
To ensure that Java is now correctly installed, open a console and type java -version. The output should look something like this:
> java -version
openjdk version "1.8.0_242"
OpenJDK Runtime Environment (AdoptOpenJDK)(build 1.8.0_242-b08)
OpenJDK 64-Bit Server VM (AdoptOpenJDK)(build 25.242-b08, mixed mode)
Apache Tomcat
Apache Tomcat is the leading open source application server.
GeoServer Enterprise supports Apache Tomcat 8.5.x or 9.0.x.
To install Tomcat, follow these steps:
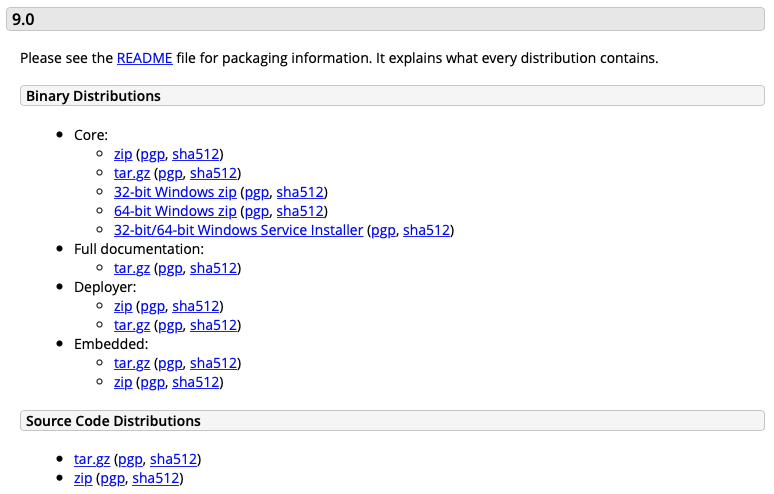
Visit the Apache Tomcat Download page.
Under Binary Distirbutions download 32-bit/64-bit Windows Service Installer (pgp, sha512).
Run the installer file.
Choose Components page, select the
NativeandService Startup, andManageroptions.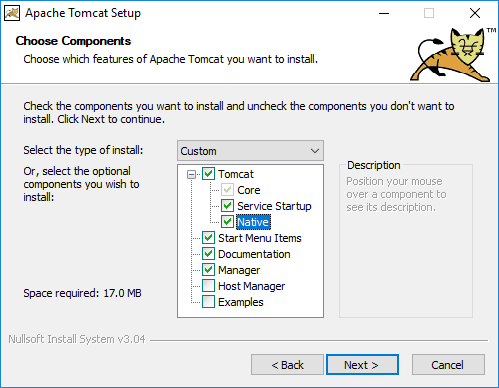
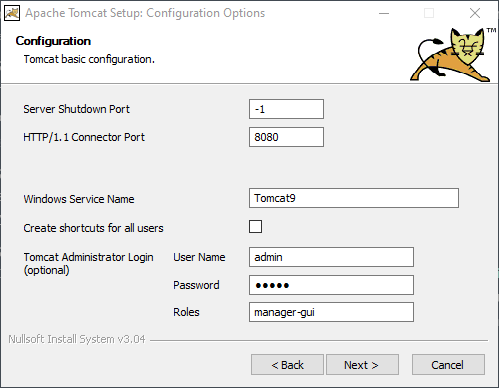
Configuration page: provide Tomcat Administrator Login credentials:
User Name
admin
Password:
tomcat (example)
Roles
manager-gui
Once installed, Tomcat has to be correctly configured to provide a better performance when running GeoServer Enterprise. The first thing to configure are its Java Virtual Machine runtime parameters.
Open the Tomcat Properties dialog by selecting the menu entry in the Windows Start menu. Move to the Java tab.
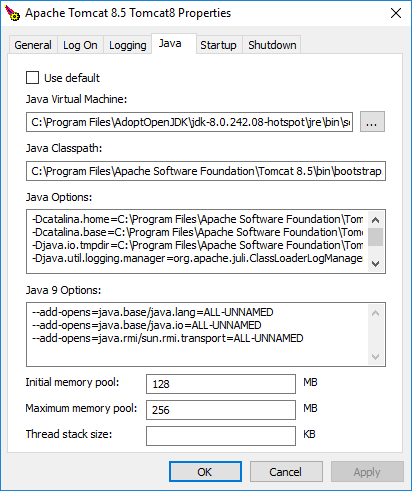
Add the highlighted lines below to Java Options:
-Dcatalina.home=C:\Program Files\Apache Software Foundation\Tomcat 9.0
-Dcatalina.base=C:\Program Files\Apache Software Foundation\Tomcat 9.0
-Djava.io.tmpdir=C:\Program Files\Apache Software Foundation\Tomcat 9.0\temp
-Djava.util.logging.manager=org.apache.juli.ClassLoaderLogManager
-Djava.util.logging.config.file=C:\Program Files\Apache Software Foundation\Tomcat 9.0\conf\logging.properties
-XX:SoftRefLRUPolicyMSPerMB=36000
-XX:-UsePerfData
-Dorg.geotools.referencing.forceXY=true
Set the memory options to:
Initial memory pool:
512 MB
Maximum memory pool:
1536 MB
Restart the service for these changes to take effect.
Note
Optional
Environment variables can be managed using the optional bin/setup.bat file:
JAVA_HOME
CATALINA_OPTS: additional Java startup options used when launching Tomcat
SET CATALINA_OPTS="-XX:SoftRefLRUPolicyMSPerMB=36000 -XX:-UsePerfData -Dorg.geotools.referencing.forceXY=true"
Data Directory
GeoServer places all its required configuration files in a so-called data directory. It’s recommended to change its default location and set up a new one explicitely. To do so, follow these steps:
Create a folder to hold your GeoServer Enterprise configuration:
C:\ProgramData\GeoServer\
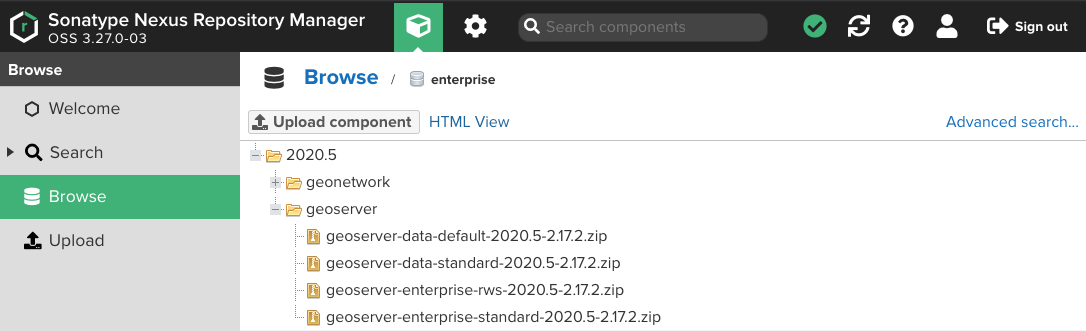
Login to nexus.geocat.net and browse to the enterprise folder:
Navigate to the latest geoserver release, we have a choice of two ready to use data directories to download:
geoserver-data-standard- services setup, includes sample layersgeoserver-data-default- services setup only
Locate latest geoserver data zip archives
Unzip, and copy the
datafolder toC:\ProgramData\GeoServer\data.Create the
tilecachefolder.C:\ProgramData\GeoServer\tilecache
Update the Tomcat configuration with this data directory location.
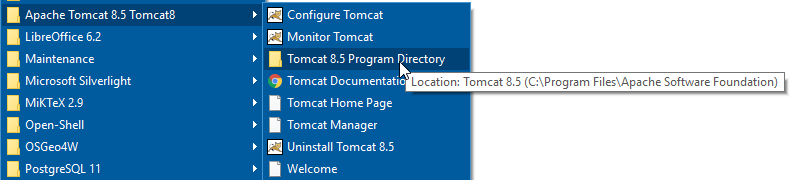
Open the Tomcat folder, by selecting the menu entry in the Windows Start menu.
Navigate to the
conf\catalina\localhostsubfolder.In the
localhostfolder, create ageoserver.xmlfile, with the following content:<Context docBase="geoserver.war"> <Parameter name="GEOSERVER_DATA_DIR" value="C:\ProgramData\GeoServer\data" override="false"/> <Parameter name="GEOSERVER_REQUIRE_FILE" value="C:\ProgramData\GeoServer\data\global.xml" override="false"/> <Parameter name="GEOWEBCACHE_CACHE_DIR" value="C:\ProgramData\GeoServer\tilecache" override="false"/> </Context>
Note
Starting with an empty data directory
GeoServer can also be configured to start with an empty folder, GeoServer will generate configuration files to this folder the first time it runs:
Create an empty folder
C:\ProgramData\GeoServer\dataRemove the GEOSERVER_REQUIRE_FILE startup check for global.xml:
<Parameter name="GEOSERVER_REQUIRE_FILE"
   value="/var/opt/geoserver/data/global.xml" override="false"/>
This approach is often used in automated workflow where GeoServer is configured via REST API scripts.
GeoServer Enterprise
To install GeoServer on your existing Tomcat instance, follow these steps:
Login to nexus.geocat.net and browse to the enterprise folder:
Navigate to the latest geoserver release and select the
geoserver-standardzip archive.
Unzip this file containing:
windows- sample configuration filesgeoserver.war- geoserver enterprise web applicationGPLandLICENSE.txtopen source license information
Open the Tomcat Program folder by using the Start menu to select .
Open the
webappsfolder.Copy the
geoserver.warfile to the to tomcatwebappsfolder.Tomcat will deploy
geosever.warweb application, creating geoserver folder for the running application.In your web browser, navigate to localhost:8080/geoserver to verify that GeoServer Enterprise is correctly working.
