Manual Linux Java Install
To manually install OpenJDK 17, follow these steps:
-
Navigate to the Eclipse Temurin releases page, confirming the JDK 17 - LTS tab is selected.
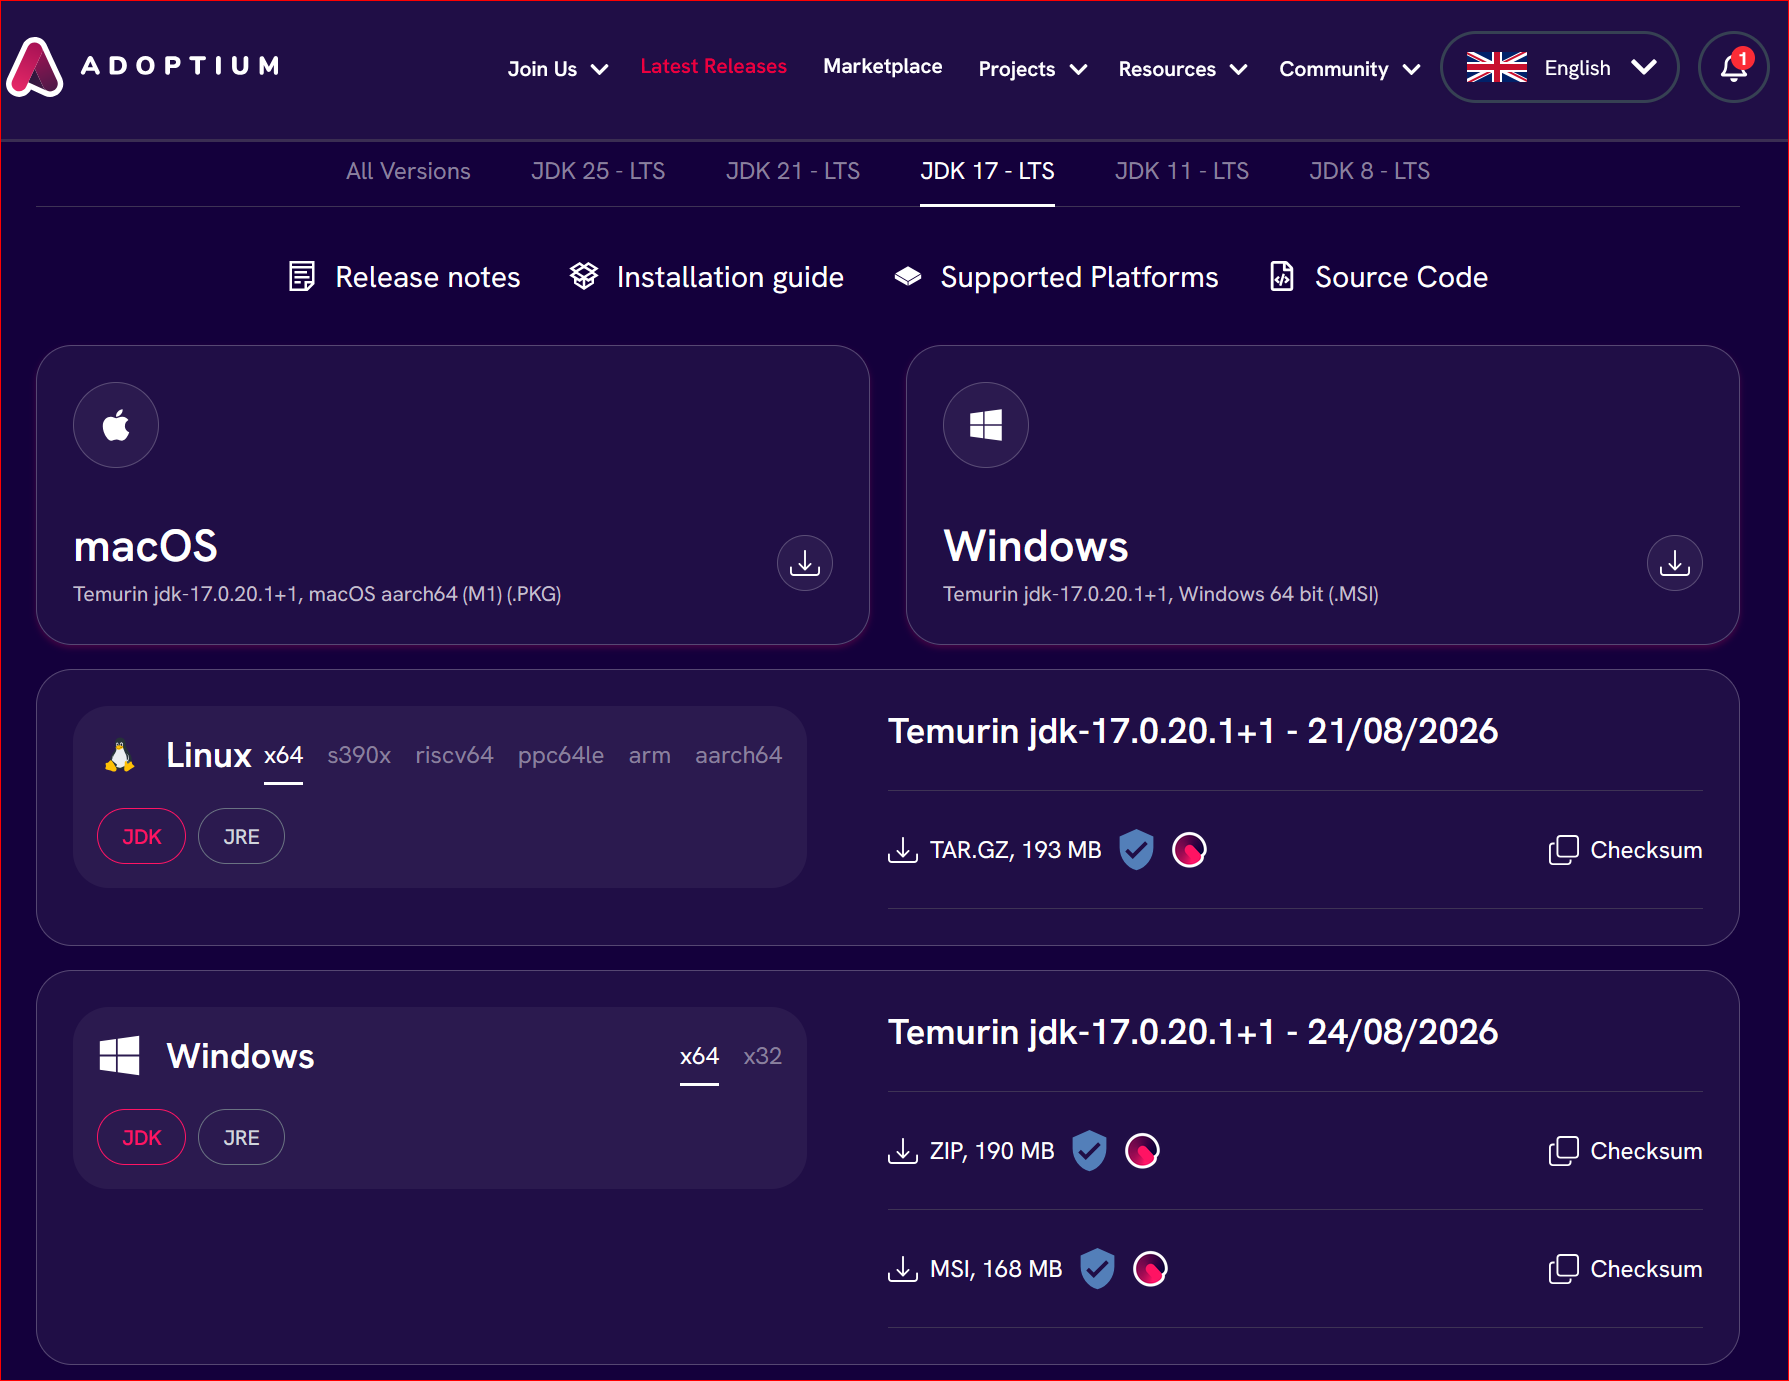 Linux and Windows downloads are both available from this one page
 -
In the Linux row, select your architecture (typically
x64), leaveJDKselected, and download theTAR.GZ. -
In your system, create a folder called
javaand cd into it. -
Expand the downloaded file using the following command (adapt the filename according to the name of your downloaded file):
-
Add Java to your PATH:
-
To ensure that Java is now correctly installed, open a console and type
java -version. The output should look something like this: